


I hope most tech people are aware of Raspberry Pi. But very few are aware of Libre Computer AML-S905X-CC also called as Le Potato.
There was a chip shortage during the pandemic that has resulted in the rise of Raspberry Pi price. Adding up to that, the Russia-Ukraine war has skyrocketed the price of Raspberry Pi and even the manufacturing of a few models has been stopped. You can read about it here. So, we felt switching to some alternatives of Raspberry Pi would be better to continue our project.
Le Potato is almost similar to Raspberry Pi in terms of appearance, configuration, etc. Moreover, it has the ability to run numerous operating systems such as Ubuntu, Debian, Raspbian, Android, etc. But unfortunately, it does not come with a pre-installed wifi module, whereas Raspberry Pi has wifi module pre-installed.
In this article, I’ll give you clear step-by-step instructions to install external wifi adapter driver in Le Potato running Ubuntu OS. For those who are running other operating systems, you can try the following steps, but I cannot assure you that it’ll definitely work.
Let’s have a quick look at my accessories.
Le Potato

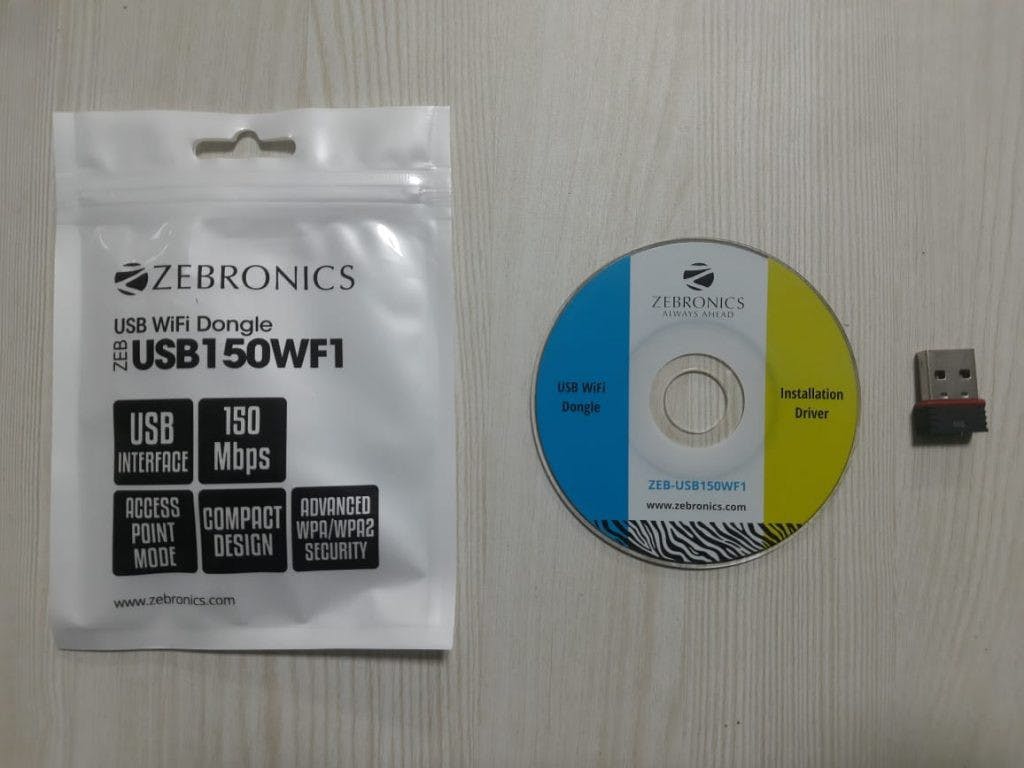
Zebronics External Wifi Adapter
The Long Path
Before I find this final solution and ended up installing the wifi driver and being able to access the internet with my wifi adapter, I tried many ways but none of them worked out.
Here’s my path history,
Tried to install the driver given on the CD that was delivered along with the wifi adapter. But, I couldn’t understand the steps they asked me to follow and finally ended up with a lot of errors
Downloaded the exact driver for this device from Zebronics official site. Again that did not pay off as well
Tried to install some open source drivers from Github forked by many people from Realtek source. This also does not work out as expected
Finally, I found the below answer from the Ubuntu Q&A forum and I was able to install it on the first try. Though the steps were not so clear initially, I managed to bypass them.
How to install the wifi adapter driver for Le Potato in Ubuntu?
Follow the below steps to install the driver on your device
Install the dependencies
The first step is to install the required (pre-requisite) software.
You need to install git, dkms, build-essential and linux-headers for your system architecture.
You can install altogether in a single command
sudo apt-get install -y build-essential git dkms linux-headers-$(uname -r)
If you have been prompted (yes/no) while running the above command, please hit y , which is basically agreeing to install the software in your system.
Download the driver source
Drivers for some devices will not be available in any installable/executable formats. In such cases, the source code should be downloaded, compiled, and installed on the machine directly. Unfortunately, this driver also comes under the same case.
We can download the source of this driver from Github. Run the following command in your terminal to download the source code
git clone github.com/kelebek333/rtl8188fu
Build and Install the driver
Before building and installing the driver, you need to know about dkms command in Linux. If you know about dkms, you can skip this paragraph and move on to the next paragraph.
DKMS stands for Dynamic Kernel Module Support. It’s a program/framework that enables installing the supplementary versions of kernel modules. A package can be compiled and installed into the kernel tree. DKMS is called automatically upon installation of new Ubuntu kernel-image packages, and therefore modules added to DKMS will be automatically carried across updates.
It is the source package that we downloaded in the previous step. We need to add, compile and install the source package into our kernel tree.
Run the following commands sequentially to add, compile and install the driver package
Add Source to Kernel
sudo dkms add ./rtl8188fu
Compile source package
sudo dkms build rtl8188fu/1.0
Install the package into the kernel tree
sudo dkms install rtl8188fu/1.0
Copy the firmware
The compiled binary firmware file should then be copied to the default firmware location in Linux, i. e., /lib/firmware .
Firmware is software that enables the communication between hardware and software. It provides the machine instructions that make the hardware function.
Run the following command to copy the compiled firmware
sudo cp ./rtl8188fu/firmware/rtl8188fufw.bin /lib/firmware/rtlwifi/
Disable power saving and auto suspend modes on kernel
It is always advised to disable power saving and auto suspend modes for wifi driver. So, this option has to be added by default on updating the kernel too. This configuration can be added in the .conf file in /etc/modprobe.d/ directory.
We are creating this conf file in /etc/modprobe.d directory, because we need to load this customized module with the persistent changes.
rtw_power_mgnt flag is used to control power saving mode
0 — Disables power saving
1 — Power saving on with minPS
2 — Power saving on with maxPS
rtw_enusbss flag is used to control auto-suspend mode
0 — Disables auto suspend
1 — Enables auto suspend
Run the following commands to create a .conf file and store the options
sudo mkdir -p /etc/modprobe.d/ sudo touch /etc/modprobe.d/rtl8188fu.conf echo "options rtl8188fu rtw_power_mgnt=0 rtw_enusbss=0" | sudo tee /etc/modprobe.d/rtl8188fu.conf
Blacklist an existing module
You have to blacklist the module which you tried to install before following my blog.
Note: B lacklisting a module will not allow it to be loaded automatically, but the module may be loaded if another non-blacklisted module depends on it or if it is loaded manually.
Let’s assume you have added a module named rtl8188au . Then, you need to blacklist it, by adding the following line at the end of /etc/modprobe.d/blacklist.conf file.
blacklist rtl8188au
If you haven’t added any such module, please ignore the blacklisting part.
Reload the module
You need to reload the module to make it start working.
Here’s the command to reload the module we added now
sudo modprobe -rv rtl8188fu && sudo modprobe -v rtl8188fu
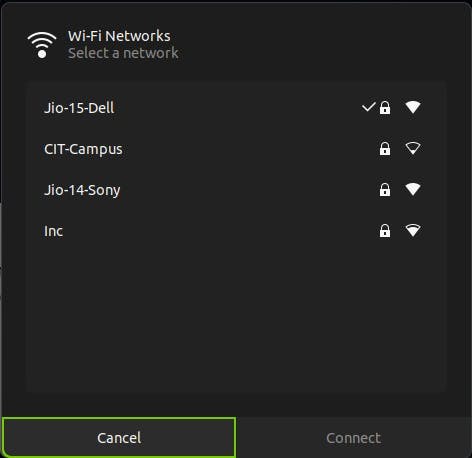
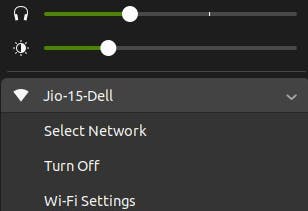
We’re done. You should be able to see the wifi enabled on your Le Potato running Ubuntu OS. If you cannot see it, reboot your system and everything will be alright.
Conclusion
In this article, we have gone through the steps to install the driver for our external wifi adapter.
Here’s a bonus tip. These are the exact (basic) steps you need to follow to add any external module into your kernel.
Subscribe to my newsletter to receive more such insightful articles that get delivered straight to your inbox.